This guide will help get you started using Code Bubbles. Note that the images shown here are old and might not correspond precisely to those of the current implementation since the system is continually evolving.
When you first start Code Bubbles you will see a screen like this:

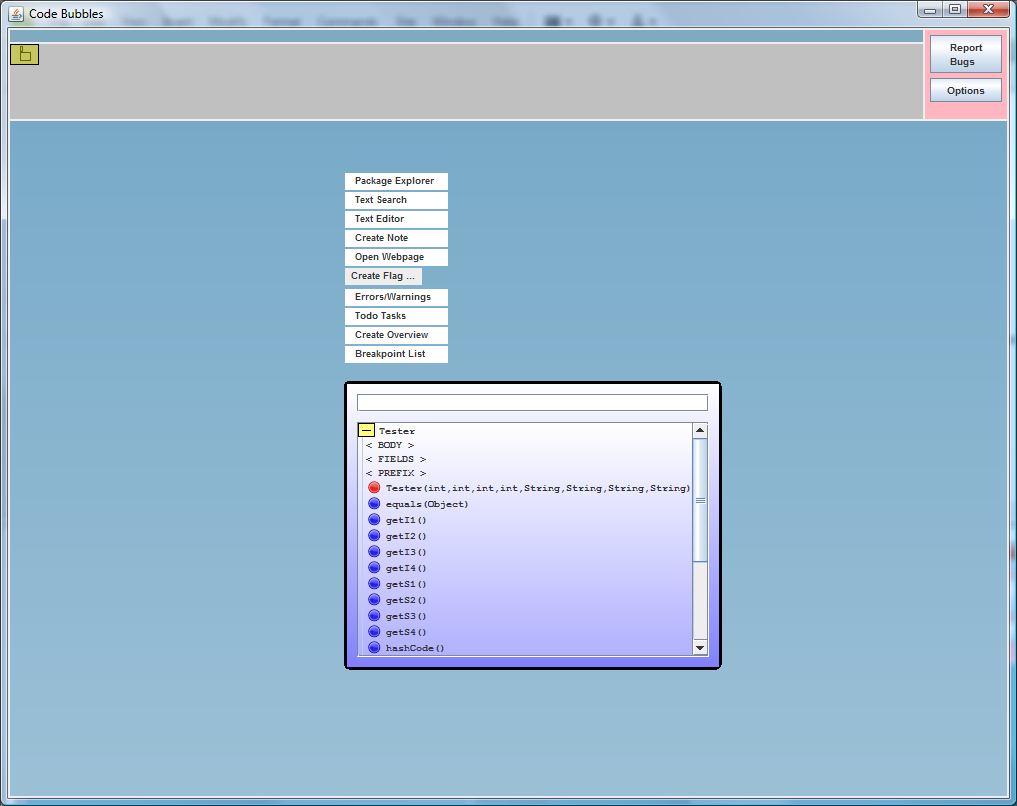
This is your workspace. Along the top is a gray bar that is a miniturized view of the workspace. The yellow box represents the current view in the window. Right click and drag on the blue background to move the view. Alternatively, you can left click and drag on the yellow box. All of Code Bubble's functionality is immediately accessible from this screen with a simple right click. Right click to bring up a context menu.
As you can see on the context menu there is an outline of our code as well as several options:
As the system evolves, new options are added to this menu. Another menu is available by hitting F1. This will popup in either the upper left or upper right of the display and provides immediage buttons for tasks such as refresh, compile, and save.
The bubble that appears at the bottom of the context menu is the package explorer. We can dock this bubble to the side of our screen by clicking on the item labeled "Package Explorer." This bubble allows you to select any method from any class and display it as a seperate editor bubble. In this example there is only one class, Tester. Double click on a method to bring up its bubble. You can now edit this method just like in any other code editor. Note that the package explorer might come up in the initial window by default (if we have it configured correctly).
The package explorer provide a full-functioned search facility to let you access your code. It also provides access to other pieces of Code Bubbles functionality by right clicking on any of the displayed elements.
Close the package explorer so that you have more room to view the new code bubble. To close the package explorer, left click on the package explorer bubble and either hit the escape key or click the middle mouse button. This is how all bubbles are closed. Many bubbles can be undeleted by clicking the button that appears when they are deleted. These buttons will eventually fade away.
Now back to the editor bubble. If there are any method calls within your snippit of code, right click on the call and choose "Go to Implementation." A new editor bubble appears that is linked to the first bubble. This new bubble contains the implementation of the method that was called in the first bubble. This unique feature of Code Bubbles allows you to visualize the flow of code. This method could be located in any file within our project. Right click on another method call and experiment with the other options.
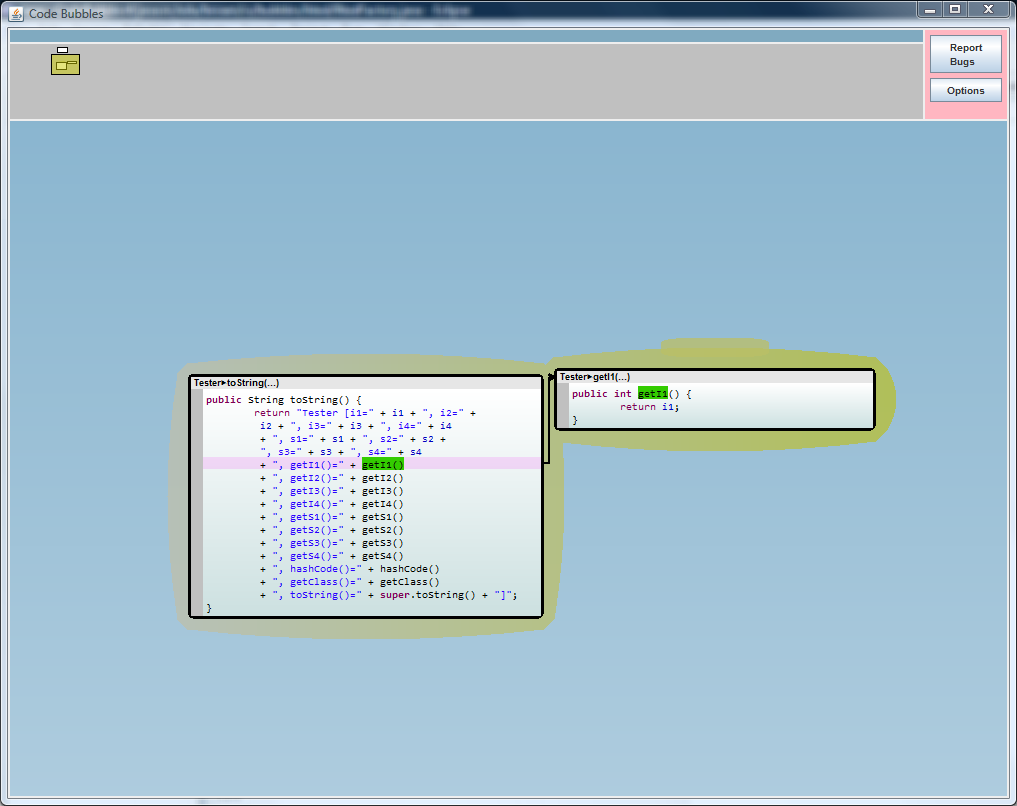
Notice that a colored border has formed around both bubbles. These bubbles are now part of a bubble group. Try right clicking on the colored border and dragging. This allows you to move the entire bubble group. Now right click in a blank space in one of the bubbles and drag. In this case only the selected bubble moves. If you move it far enough then the colored border will disappear. This removes the bubble from the bubble group. This is how you move and group all bubbles.
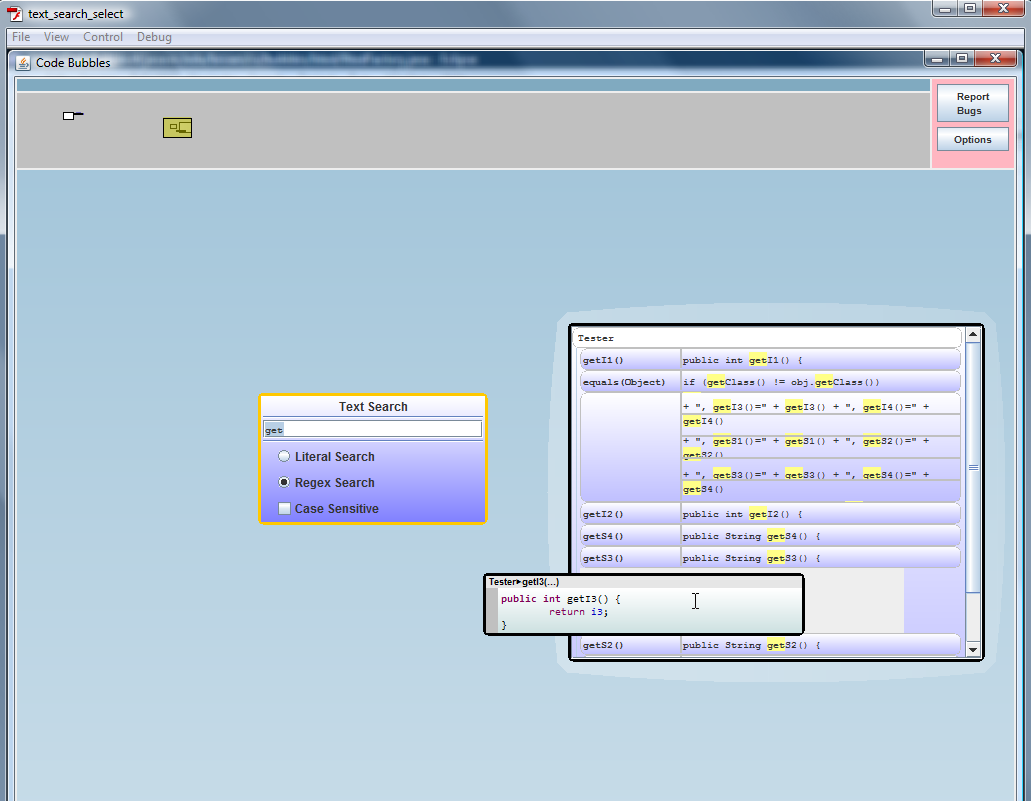
Now delete these bubbles or move to a clear screen in the workspace. Right click and select "Text Search." Then enter a search query in the text field and hit enter. A bubble will show up with the results. Both bubbles are show in the screenshot below.
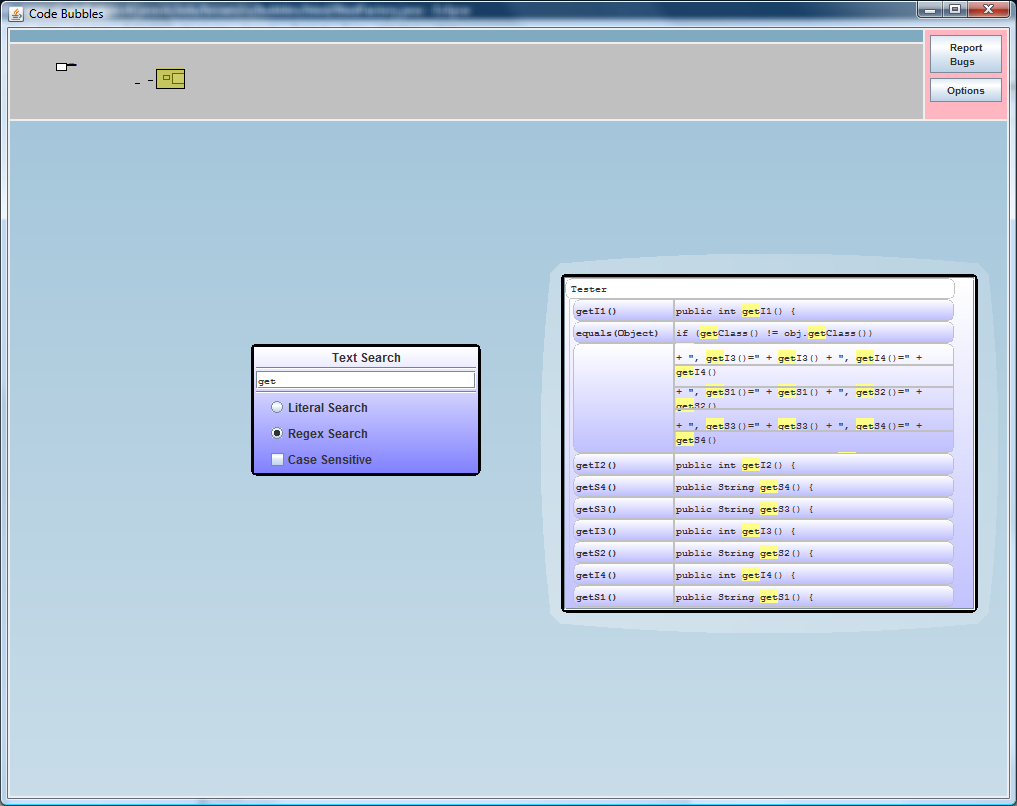
Now left click on any of the results to see a bubble with the code inside of it. If this is the code you were looking for then simply right click and drag the editor bubble onto the workspace. Simple!
Open the context menu again and click on "Text Editor." This opens a file chooser dialogue. This text editor supports syntax coloring for a variety of languages. Try opening an xml, html, or python file.
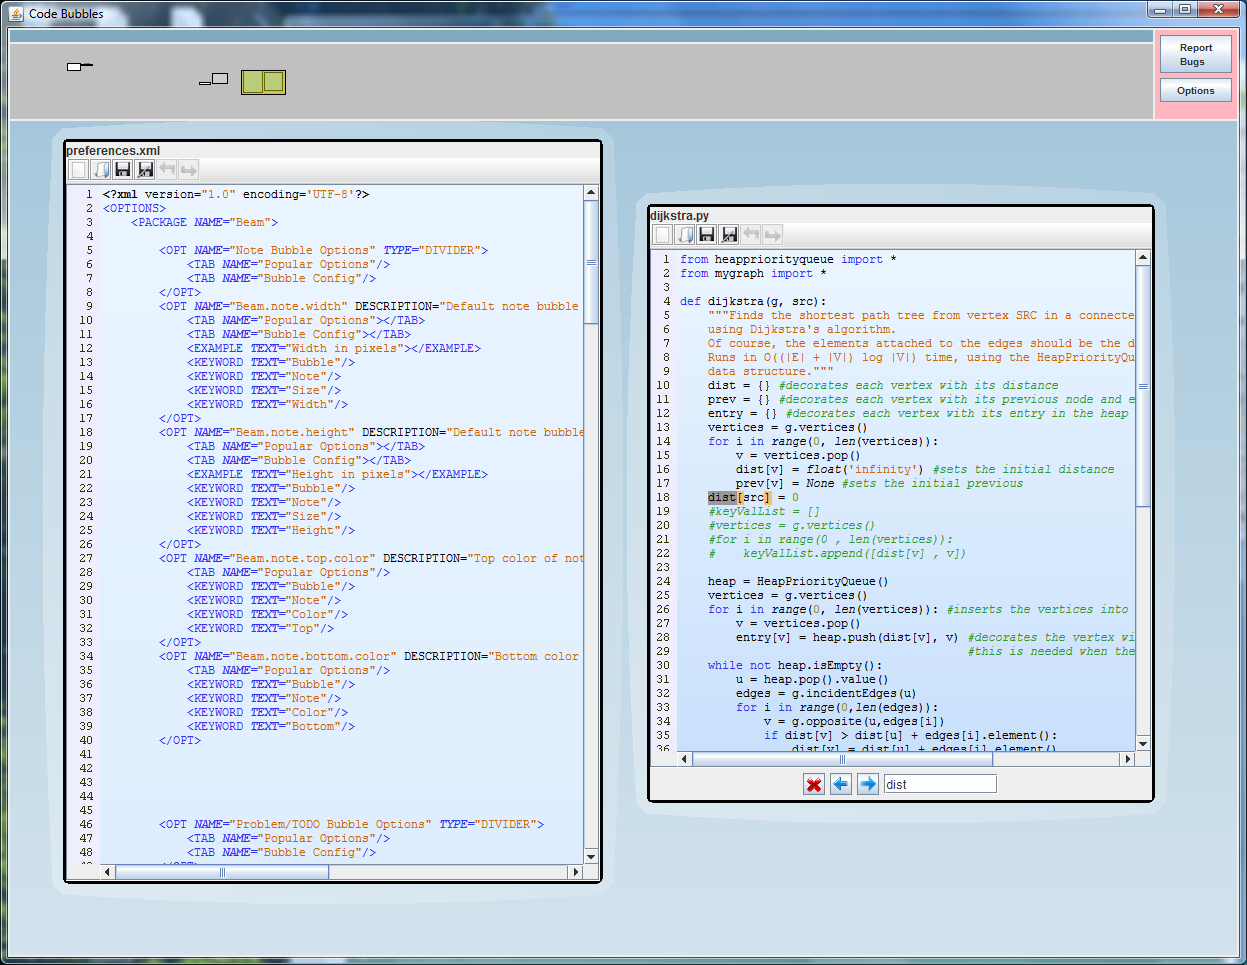
The text editor bubble allows you to view and edit any file you might use while coding such as logs, xml, or properties files. The text editor bubble uses standard keyboard shortcuts common to most text editors. For example, Ctrl+F brings up a text search box along the bottom of the editor.
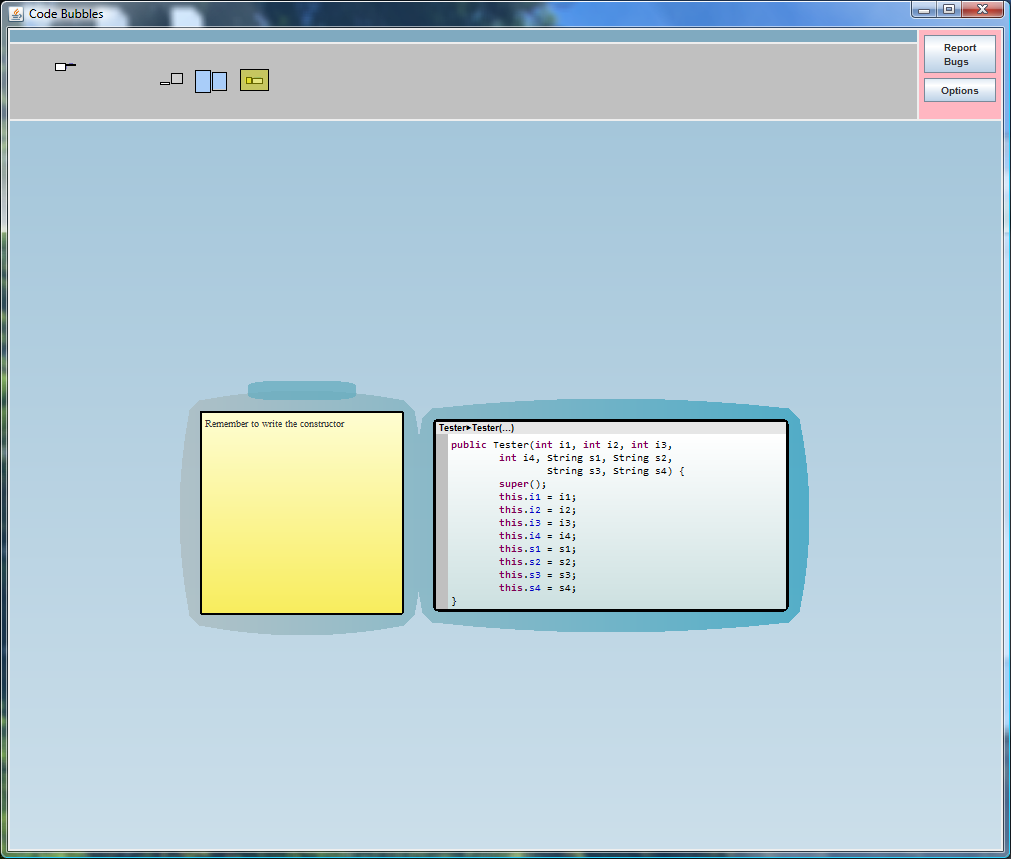
Open the context menu and click "Create Note." This simple bubble allows you to easily tag notes to snippits of code. Just right click drag the note bubble to another bubble to make a bubble group. Notes can be associated with lines of code and are saved as part of the workspace.
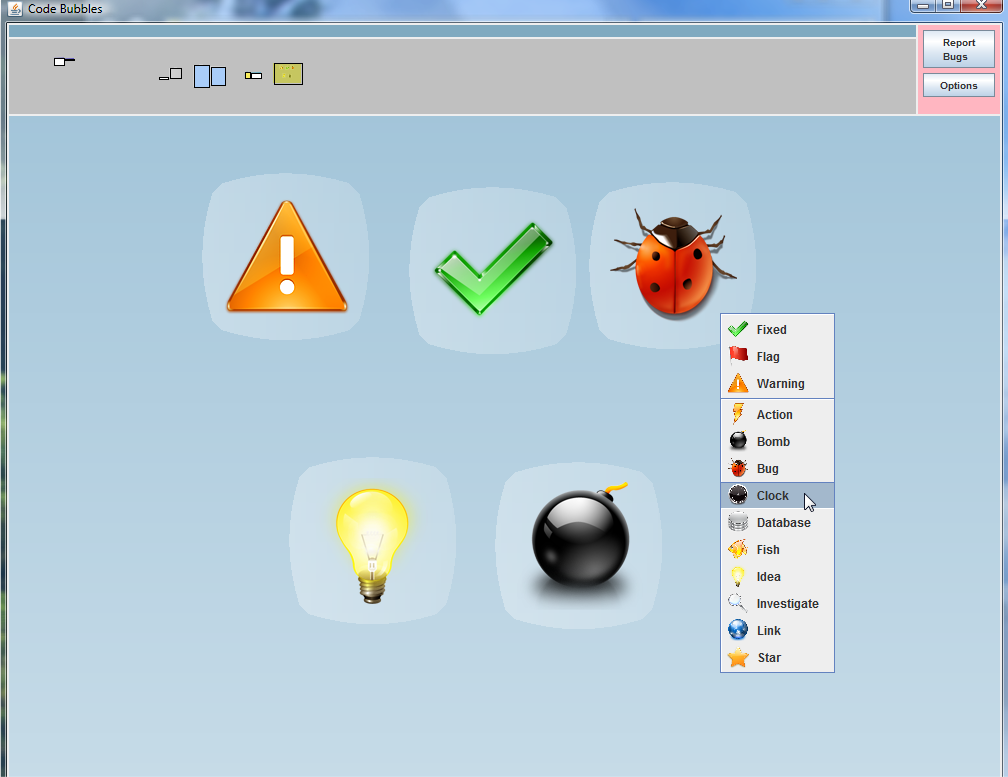
The "Create Flag" option allows you to create visual tags to attach to other bubbles much like the note bubble. If you want to change the icon, click on the chevron in the bottom right corner of a flag to get a drop down menu. A few flags are shown below.
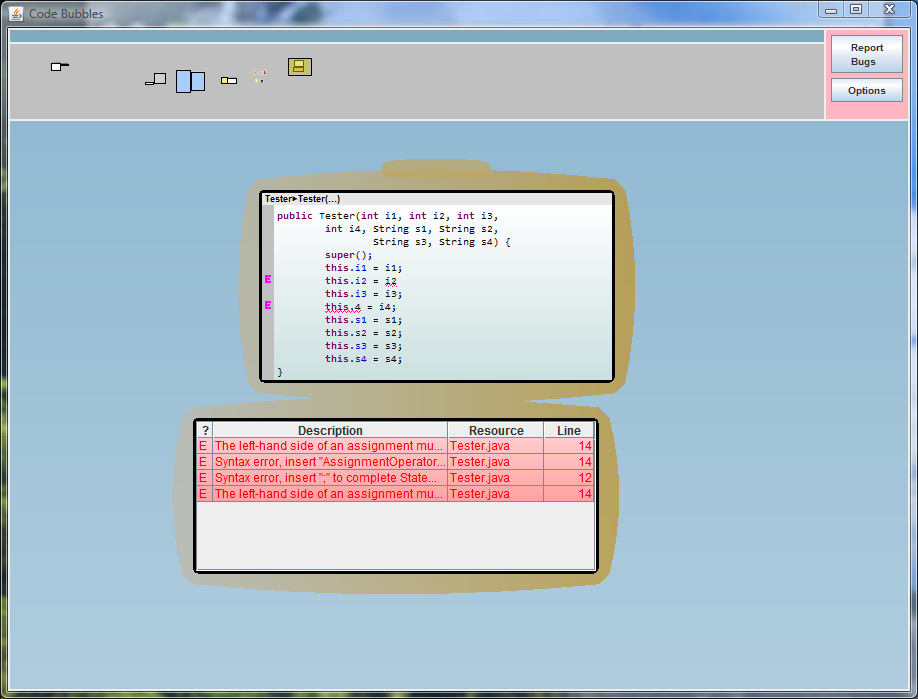
Select "Errors/Warnings" from the context menu to create an Errors/Warnings bubble. This bubble list any errors in the project. Clicking on an entry will open the bubble containg the problem.
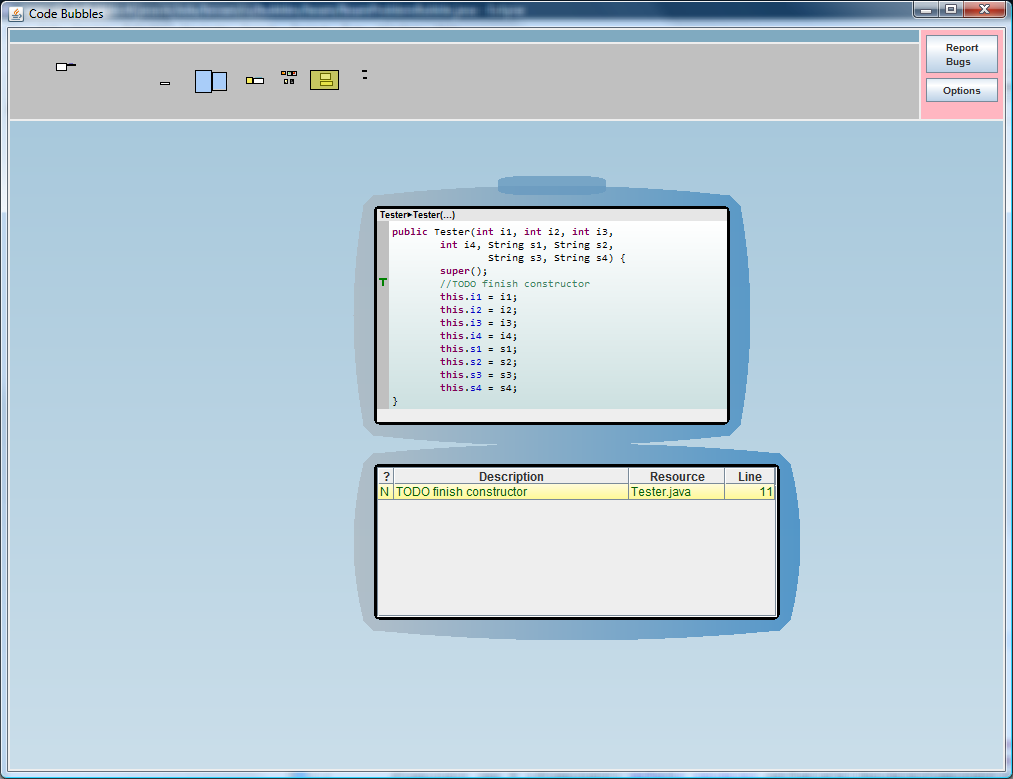
The Todo Tasks Bubble is similar to the Errors/Warnings Bubble. It lists all of the TODOs in the project. Clicking on a line opens the corresponding bubble.
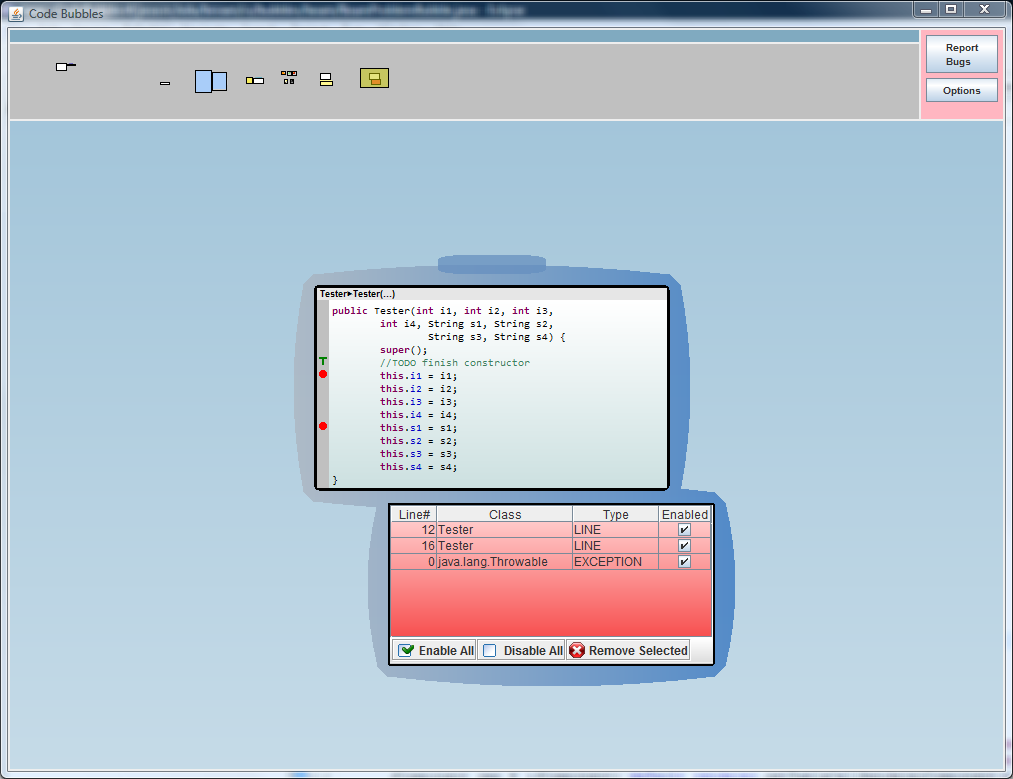
The Breakpoint Bubble lists all breakpoints within the project. Line breakpoints can be set by clicking on the line in the left hand bar of an editor bubble. The breakpoints are displayed as red dots. The Breakpoint Bubble lists information about each bubble. Clicking on a line will open the corresponding editor bubble. The Breakpoint Bubble allows you to enable, disable, or remove breakpoints
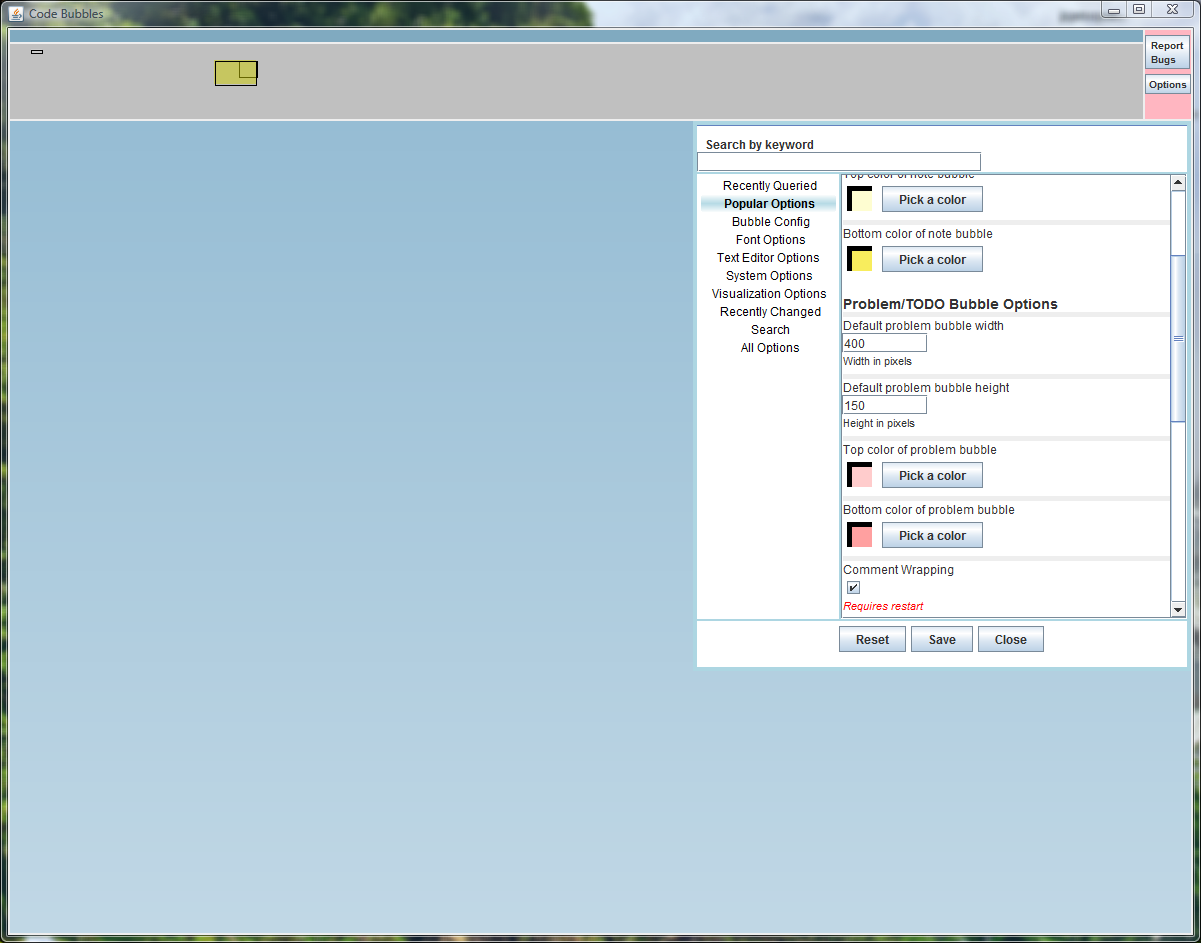
In the upper left hand corner of the screen is an options button. Click this button to open up an options panel. This option panel allows you to customize many aspects of Code Bubbles.
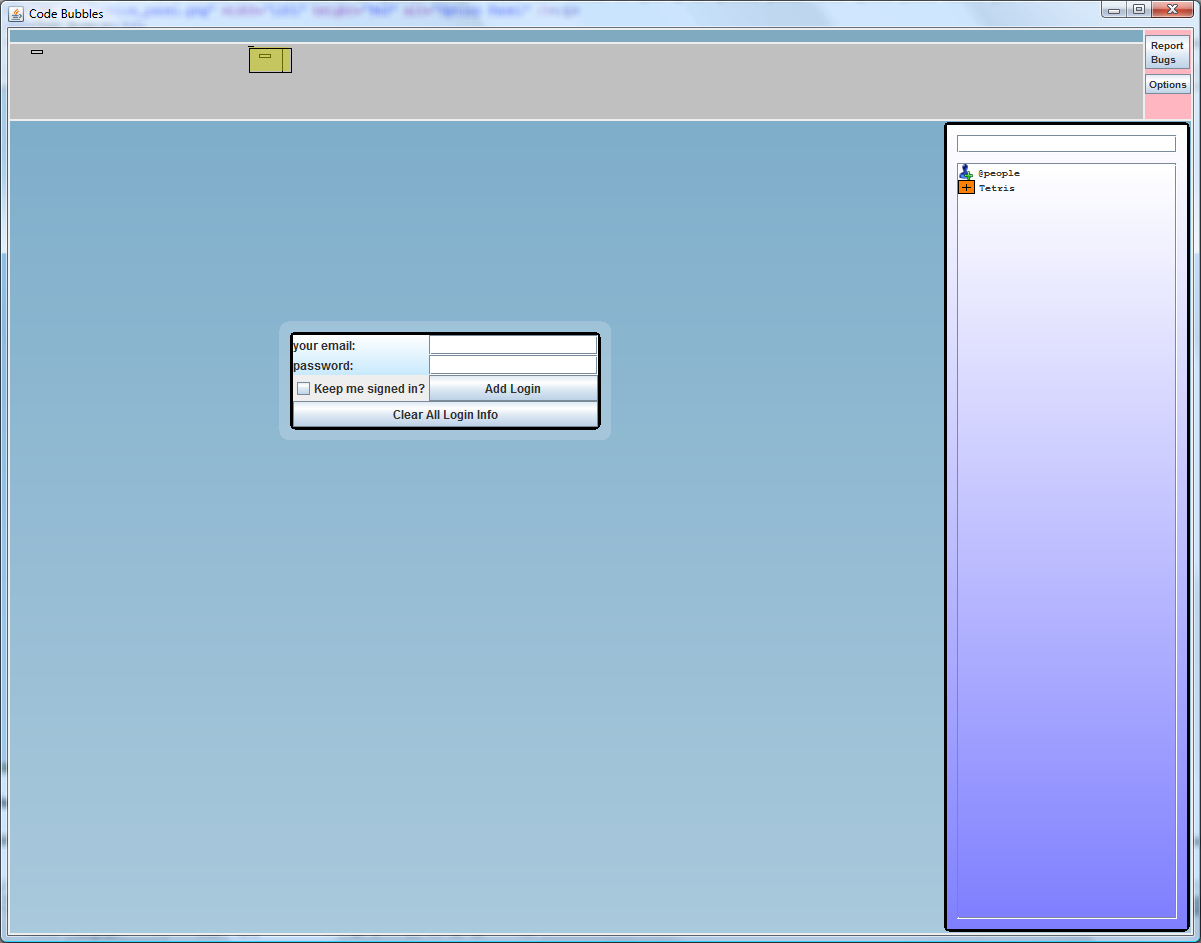
Code Bubbles also includes Chat bubbles which allows you to communicate with others right from Code Bubbles. Open the context menu and click "Package Explorer." At the top of the docked package explorer is an icon labeled "people." Click on the manage account item and the login bubble will appear. Enter your google account info to login.
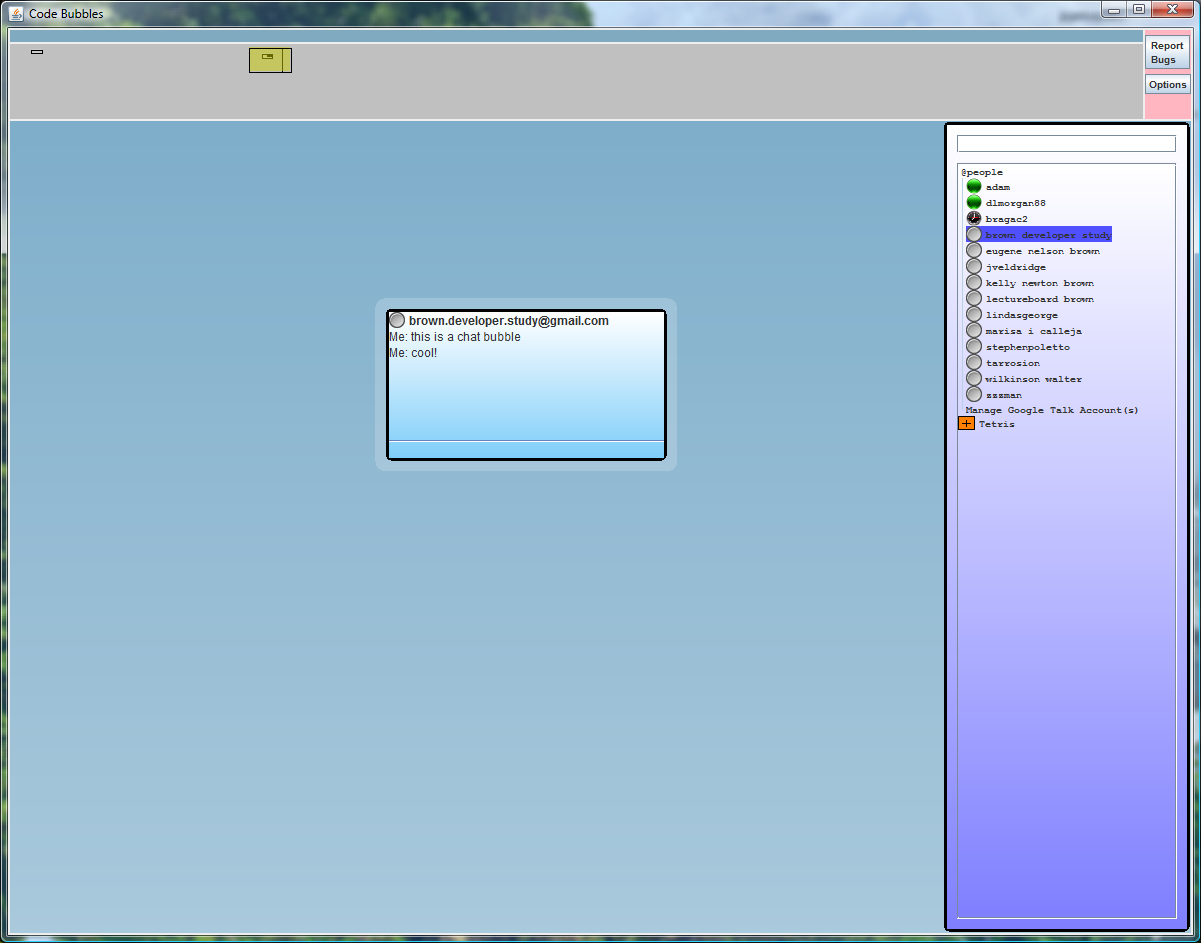
After logging in, reopen the side docked package explorer to load your contact list. Double click on a contacts name and start chatting in the chat bubble.
That's all there is too it. Have fun using and exploring Code Bubbles.
Copyright 2010 Brown University. All Rights Reserved.