So you've taken the time and trouble to download the Desert environment and now you want to figure out how to use it. This little tutorial will attempt to get you started. It assumes you are running on a SparcStation running Solaris 2.X with Sun's programming tools, have installed Desert correctly, etc.
Lets first assume that we have a directory somewhere that contains the program we want to work with. (It might be a directory hierarchy as well, but lets keep things simple for now.) The first thing you should do is to modify your Makefile or compilation scripts so that you use the -xsb option for Sun's C++ compiler and then recompile your program.
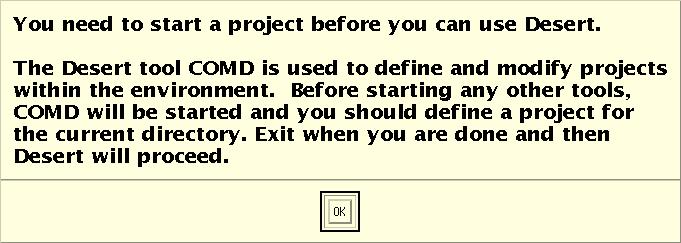
The next thing you have to do is to create a project. A Desert project identifies what files are to be considered as part of the current program. (Desert does program editing rather than file editing.) It also identifies information about how these files are compiled. Desert projects are created with the tool COMD. This tool can be run explicitly using the command xstartcomd or xnewproject. However, Desert will generally check to make sure that you have a current project before you run any tool. If you do not, it will run COMD for you. Thus, we will start up the Desert editor (FRED) and allow Desert to create the project for us. We start in the directory /home/spr/sample where our program is located. We type:
fred$ xstartfred
and the system responds with the dialog box:
After you click OK in the dialog box, Desert will first put up the startup display (shown here 1/2 size):
![]()
Next Desert starts up the COMD tool along in create mode. This brings up the new project dialog box:

Here COMD has filled in the project name based on the directory name and determined that this should be a local project. Local projects are private to the particular user whereas Global projects are shared among users. COMD has also specified that the project consists of this directory and all its subdirectories. If additional directories need to be included, they can be added in the Use Paths portion of the window. If subdirectories need to be excluded, they can be specified in the Exclude Paths portion of the window. Finally, the system asks for project options. If any .java source files were found, the Java Language option would have been selected automatically. In general, for a simple project, these options are correct and the user need only click the Define button.
Doing this causes Desert to pop up the next dialog box to allow you to specify where to find header files for this project:
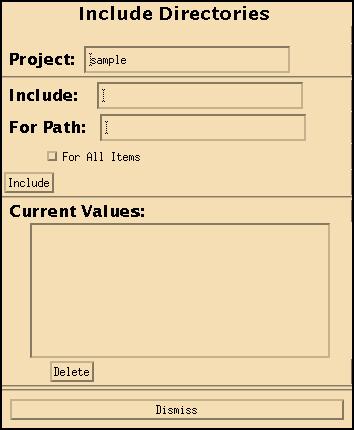
Here nothing is filled in. If you were using JAVA files, then all directories on your CLASSPATH environment variable would have been automatically included. In any case, if there are any directories that you typically include during compilation (generally with the -I option to the compiler) you should specify them here. The Include line is used to specify the directory. By default, any such directory is used for all source files. If this directory should only be used for a limited set of source files, the For Path line can be used to specify a file or directory name that specifies the files to include. After these have been specified, hitting the Include button will add the new specification to the project. Once you are done adding the include, hit the Dismiss button.
If you are on a machine with a 24 bit color display that is licensed for OpenInventor, what will be left is the COMD display window:
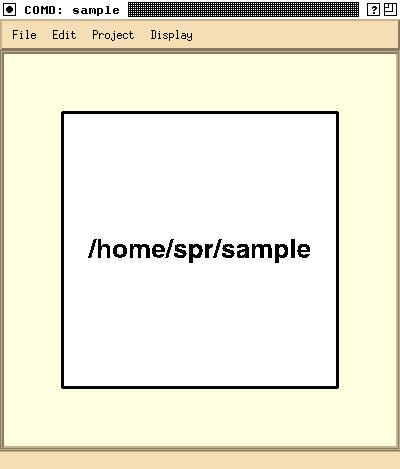
If you do not have 24 bit color or the appropriate licenses, then the interior display will be empty. In any case, to continue, bring down the File menu and hit the Quit button. COMD will then exit and Desert will begin its real work by starting up FrameMaker with all the Desert extensions.
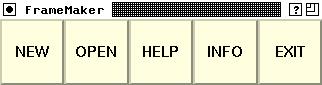
After Desert puts up the FrameMaker control box:
Desert puts up the dialog box:
Here you should hit the Continue button so that Desert can proceed. Desert will now put upt the startup screen again while FrameMaker completes its initialization process. Once this is done, you can select the Open button from Frame's control box to get an open file dialog:
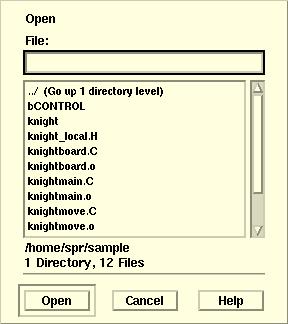
Here you select the file you want to view or edit. This should be a C++ (or C or Java) source file. In our case, we select knightmain.C to see the main program for the knight's tour problem that is stored in this directory. (We do the selection by double clicking on the name.) Frame responds with a dialog box telling you that this is not a FrameMaker file:
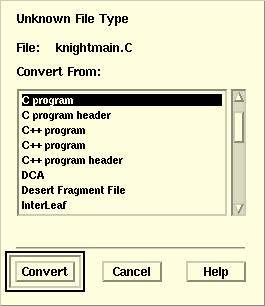
Due to a bug in FrameMaker, this dialog will always preselect "C program" regardless of whether the file was a source or header file and regardless of the actual source language. This is not a problem, however, as Desert will accept any of the different language and file type settings and work correctly. Thus, even though the file was a C++ source file, we accept "C program" by clicking on the Convert button of the dialog.
Frame eventually opens the file, all nicely formatted:
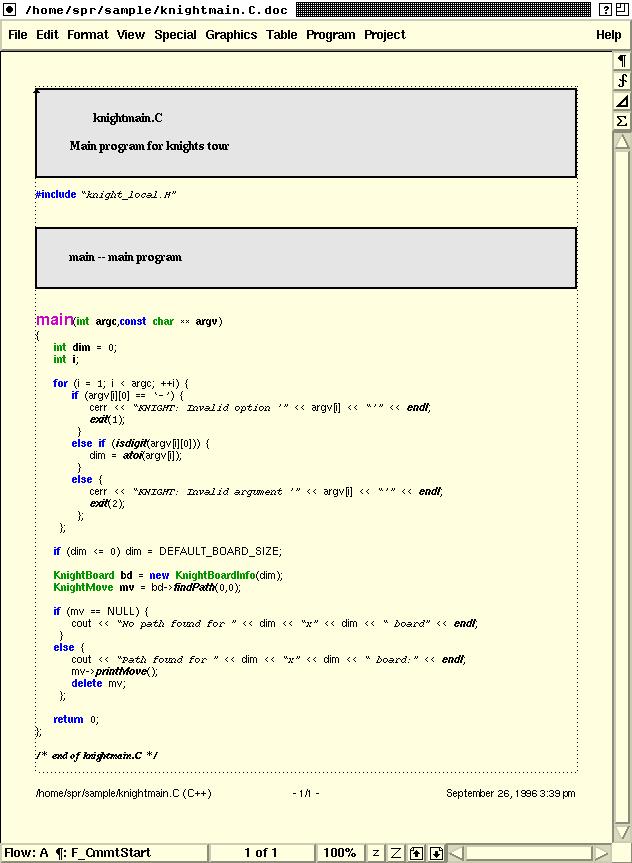
You can edit this using all the normal FrameMaker options. As you edit, Desert will automatically reformat the document. When you save the file, Desert will regenerate the appropriate source file (knightmain.C in this case).
Desert provides a number of different options. The options for program editing are located on the Program and Project menus. Other options are located at the bottom of the Special menu. (These include using Desert for literate programming and object design, as well as commands that are only relevant to fragment files or to the use of annotations (not yet fully supported).)
Several of the additional commands are quite useful for program editing:
| MENU | COMMAND | SHORTCUT | DESCRIPTION |
|---|---|---|---|
| Program | Add Comment | Ctrl-Shift-I | Add a block comment. The short cut adds an informational comment. The menu command allows the user to select the type of comment that should be added. The comments differ primarily in their background color (informational ones are gray for example). Most comments are enclosed in a box with /*... */ on each line when written out to the source. Open and open boxed comments only have these brackets on the first and last lines. Comments are actually displayed as FrameMaker tables and should be edited as such. |
| Go To ... => Go to Definition | Ctrl-Shift-D | Causes FrameMaker to jump to the definition of the token that is currently pointed to. If the definition is in another file, a new window will be created on that file. If more than one definition exists, the remaining definition locations will be placed on the goto stack and can be accessed with the Go to Next command. | |
| Go To ... => Go to Reference | Ctrl-Shift-R | Goes to a reference to the token identified by the current selection. Additional references will be placed on the goto stack and can be accessed with the Go to Next command. | |
| Go To ... => Go to Next | Ctrl-Shift-G | Goes to the next reference on the goto stack. If there are no references, it is equivalent to Go to Definition | |
| Go To ... => Go to Source | Ctrl-Shift-S | Prompts the user for a source line number and goes to the corresponding location in the Frame document. | |
| Go to => Show Stack | This displays the Goto Stack as a Frame dialog. The user can select any item in the stack and jump to that location. Items are automatically added to the stack for compilation errors and can be explicitly added with the above commands. | ||
| Indent | Ctrl-Shift-L | Recomputes the indentation for the current line (or all lines in the current selection). | |
| Symbol Lookup ... | Puts up a dialog box showing possible semantically accessible name completions. This dialog box can be used directly. It is also automatically updated whenever the user adds a character to an undefined identifier. The shortcut Ctrl-Shift-C will check the current identifier explicitly. The shortcut Ctrl-Shift-Z will replace the current identifier with the selected correction (or insert it if the identifier was not the one being looked up). | ||
| Project | Update | Updates the current project explicitly. This will cause Desert to check the dates on all files in the current project and will update information that has changed. Most updates are done automatically. | |
| Find New Files | This is similar to update except that Desert will search all directories in the project for files that have been added (and not just updated) and will add them to the project. | ||
| Search ... | This submenu provides a variety of text and token-based searches. Executing a search will add all matching lines to the current goto stack. | ||
| Ctrl-Shift-M | Add a new line character without positioning the cursor at the next indentation point | ||
| Ctrl-m (Return) | Add a new line character and indent the line to the logical place for typing program text. | ||
| Ctrl-Shift-J | Merge the current line with the next, leaving only a single space between the end of one and the start of the next. |
The goto stack mentioned above has its own display:
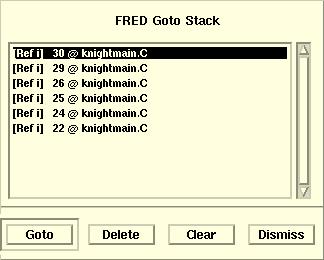
Here the user can select any of the displayed items. The Goto button will cause FrameMaker to display that line (and the highlight the corresponding token if appropriate). If the given file is not open, then a new window will be opened for it. Items can also be deleted using the Delete button. The Clear button deletes all items in the stack.
The symbol lookup display is also a separate dialog box:
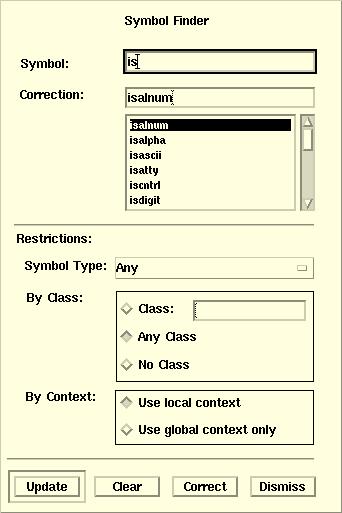
The options in the lower half of the box allow the user to restrict the search. The update button will activate the lookup (this is generally done automatically upon a change). The Correct button will insert the correction into the document at the current insertion point, replacing the current token if it is a prefix of the correction.
In addition to Frame-based program editing, Desert offers a convenient general-purpose search tool, CAMEL. This tool can be activated with the command xstartcamel. Other Desert features include ....
If you have questions or problems, send email to Steve Reiss at spr@cs.brown.edu.
Or go back to the Desert home page.